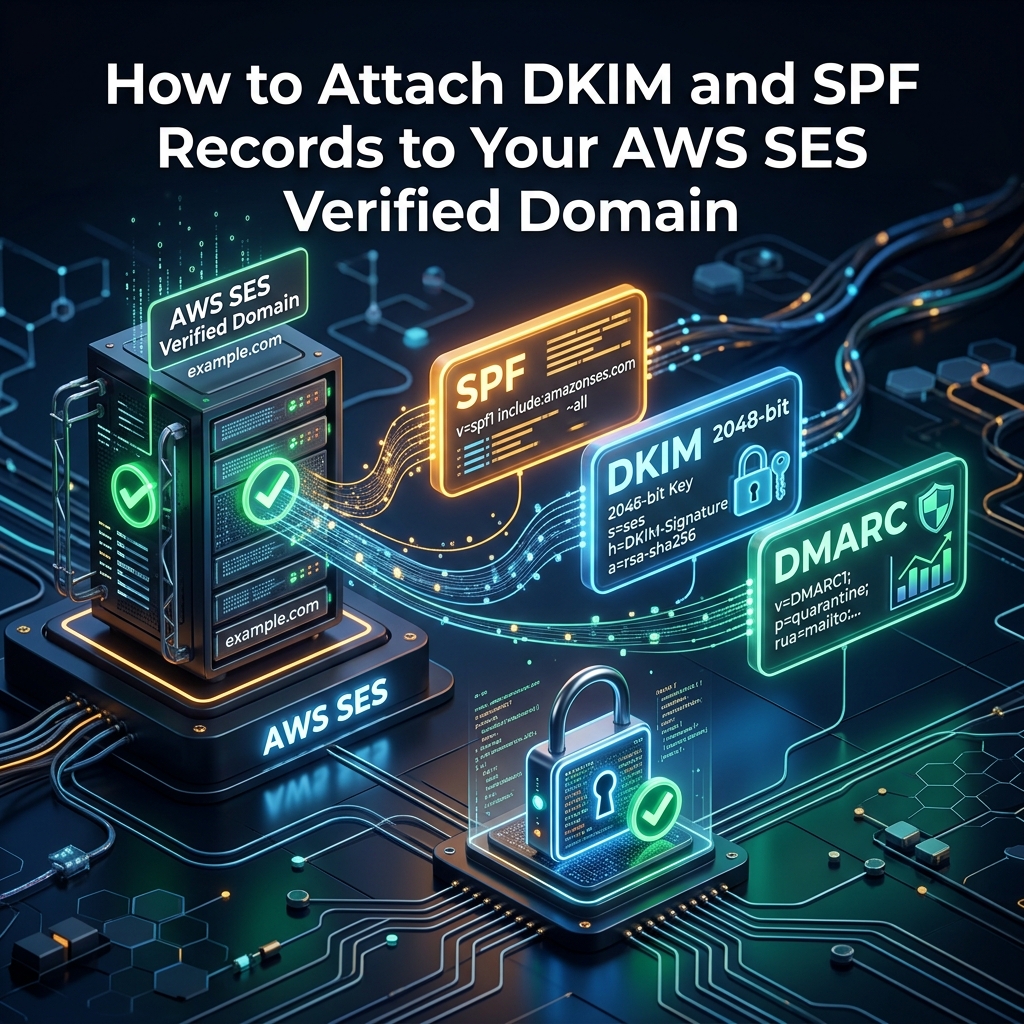
Email authentication is no longer optional. Mailbox providers like Google, Yahoo, and Microsoft strictly reject or spam-box unauthenticated emails. To ensure 100% deliverability for emails sent via Amazon SES, you must correctly configure **SPF**, **DKIM**, and **DMARC** DNS records.
This step-by-step guide covers how to generate and verify 2048-bit DKIM and SPF records for your domain in AWS SES.
---
## 1. Configuring SPF (Sender Policy Framework) for AWS SES
SPF authorizes Amazon SES servers to send emails on behalf of your domain.
### TXT Record Syntax:
If you do NOT have an existing SPF record on your domain:
```dns
Host / Name: @ (or yourdomain.com)
Type: TXT
Value: v=spf1 include:amazonses.com ~all
TTL: 3600
```
If you ALREADY have an SPF record (e.g., for Google Workspace):
```dns
# Merged SPF Record (NEVER create two TXT SPF records on one domain!)
v=spf1 include:_spf.google.com include:amazonses.com ~all
```
---
## 2. Setting Up Easy DKIM (2048-bit) in AWS SES
Easy DKIM generates a public/private key pair managed by AWS. Amazon automatically rotates DKIM keys for your domain.
### Step 1: Enable Easy DKIM in AWS Console
1. Navigate to **AWS SES Console -> Verified Identities -> yourdomain.com**.
2. Select **DKIM Authentication** tab.
3. Choose **Easy DKIM** with **2048-bit key length**.
### Step 2: Add CNAME Records to DNS
AWS SES provides 3 CNAME records. Add all 3 to your DNS host:
| Name / Host | Record Type | Target / Value |
| :--- | :--- | :--- |
| `a1b2c3._domainkey` | CNAME | `a1b2c3.dkim.amazonses.com` |
| `d4e5f6._domainkey` | CNAME | `d4e5f6.dkim.amazonses.com` |
| `g7h8i9._domainkey` | CNAME | `g7h8i9.dkim.amazonses.com` |
*(Note: Cloudflare automatically appends your domain name; do not double-append `yourdomain.com`).*
---
## 3. Configuring Custom MAIL FROM Domain (Mandatory for SPF Alignment)
By default, AWS SES uses a generic `amazonses.com` MAIL FROM domain, which passes SPF check but fails DMARC SPF Alignment.
To achieve full DMARC SPF alignment:
1. In AWS SES identity settings, set **Custom MAIL FROM Domain**: `bounces.yourdomain.com`.
2. Add the following DNS records:
```dns
# MX Record for Bounces Subdomain
Host: bounces.yourdomain.com
Type: MX
Value: 10 feedback-smtp.us-east-1.amazonses.com
# TXT Record for Bounces Subdomain
Host: bounces.yourdomain.com
Type: TXT
Value: v=spf1 include:amazonses.com ~all
```
---
## 4. Implementing DMARC Policy
After SPF and DKIM are verified, create a DMARC record to tell receivers how to handle unauthenticated messages:
```dns
Host: _dmarc.yourdomain.com
Type: TXT
Value: v=spf1 DMARC1; p=quarantine; pct=100; rua=mailto:dmarc-reports@yourdomain.com;
```
---
## 5. Verification Command
Verify your DNS records using `dig` in terminal:
```bash
# Verify DKIM CNAME lookup
dig CNAME a1b2c3._domainkey.yourdomain.com +short
# Verify SPF TXT lookup
dig TXT yourdomain.com +short
# Verify DMARC Record
dig TXT _dmarc.yourdomain.com +short
```
---
## Summary
Configuring 2048-bit Easy DKIM, a Custom MAIL FROM SPF domain, and a strong DMARC policy guarantees that your AWS SES emails pass authentication checks with 100% reliability, maximizing inbox placement across all major email providers.