Amazon Simple Email Service (SES) is one of the most reliable and cost-effective outbound email delivery platforms available today. However, straight out of the box, AWS SES enforces strict boundaries to protect its sender reputation and infrastructure.
To achieve high deliverability and scale your sending capacity, you must properly optimize your AWS SES account configuration. This guide outlines the key steps to move out of sandbox mode, authenticate your domain, handle bounces, and warm up sending IPs.
---
## 1. Requesting Sandbox Removal
By default, every new AWS SES account starts in the **SES Sandbox environment**. In the sandbox:
* You can only send email to verified email addresses and domains.
* You can only send from verified email addresses and domains.
* Your sending limit is restricted to **200 messages per 24-hour period**.
* Your sending rate is capped at **1 message per second**.
### Step-by-Step Sandbox Removal Request:
1. Navigate to the **AWS SES Console**.
2. Click **Account dashboard** in the left sidebar.
3. Locate the sandbox status banner and click **Request production access**.
4. Fill out the request form with the following details:
- **Mail Type**: Transactional (order updates, user register OTPs) or Marketing (newsletters).
- **Website URL**: Your primary production web application link.
- **Detailed Description**: Write a clear narrative of how you collect subscriber consent, handle bounces, and verify recipient addresses. *Do not use vague statements.* Explain that you use double opt-in validation and have automated bounce listeners.
---
## 2. Setting Up Domain Authentication (SPF, DKIM, DMARC)
Authentication is the cornerstone of modern email deliverability. Without it, spam filters (like Gmail and Yahoo Mail) will flag your outbound emails as spoofing attempts.
### A. SPF (Sender Policy Framework)
SPF is a DNS record that defines which IP addresses are authorized to send email on behalf of your domain. AWS SES handles this automatically via custom **MAIL FROM** domains.
In the AWS SES console:
1. Select your verified domain.
2. Click **MAIL FROM domain** tab.
3. Choose **Set MAIL FROM domain** and enter a subdomain like `mail.yourdomain.com`.
4. Publish the following MX and TXT records provided by AWS to your DNS provider:
| Host / Name | Type | Value / Points to |
| :--- | :--- | :--- |
| `mail` | MX | `feedback-smtp.us-east-1.amazonaws.com` |
| `mail` | TXT | `v=spf1 include:amazonses.com ~all` |
### B. DKIM (DomainKeys Identified Mail)
DKIM uses cryptographic key pairs (public/private) to sign email headers, proving that the email was not modified in transit.
AWS SES uses **Easy DKIM**. When verifying a domain, AWS will generate 3 CNAME records. Copy and publish them immediately at your DNS registrar:
| Host / Name | Type | Value / Points to |
| :--- | :--- | :--- |
| `[token1]._domainkey` | CNAME | `[token1].dkim.amazonses.com` |
| `[token2]._domainkey` | CNAME | `[token2].dkim.amazonses.com` |
| `[token3]._domainkey` | CNAME | `[token3].dkim.amazonses.com` |
### C. DMARC (Domain-based Message Authentication)
DMARC acts as a policy checker. It tells receiving servers what to do if an email fails SPF or DKIM checks. Create a new TXT record at your root domain (`_dmarc.yourdomain.com`):
```text
Host: _dmarc.yourdomain.com
Type: TXT
Value: v=DMARC1; p=quarantine; pct=100; rua=mailto:[email protected]
```
---
## 3. Automating Bounce and Complaint Listeners
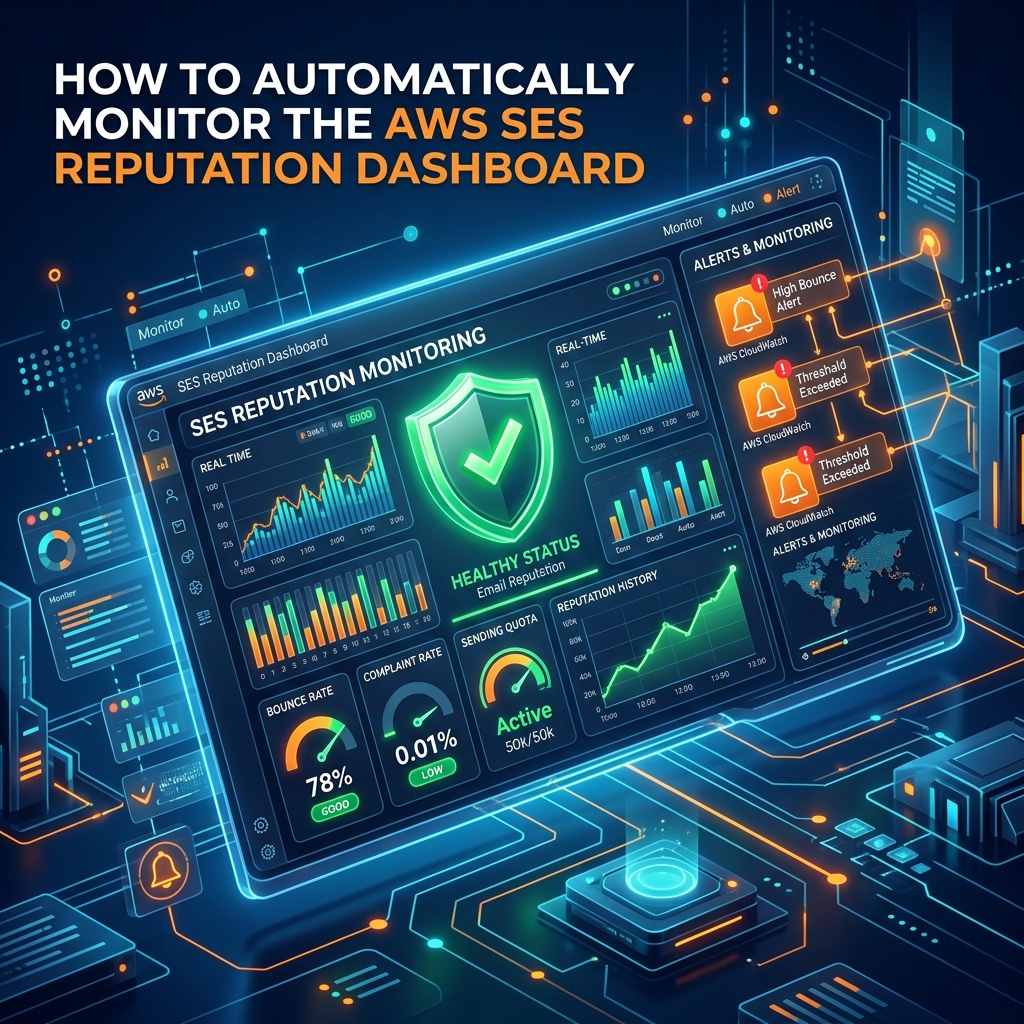
A high bounce rate (above 5%) or complaint rate (above 0.1%) will cause AWS to **pause or suspend your sending account**. You must setup listeners to automatically block future deliveries to bounced addresses.
```mermaid
graph TD
A[AWS SES] -->|Webhook Event| B[Amazon SNS Topic]
B -->|Publish Event| C[Amazon SQS Queue]
C -->|Worker Pull / Dispatch| D[Laravel App Webhook WebhookController]
D -->|Process Event| E[Update User Status: Bounced / Blocklist]
```
### Steps to Integrate SNS and SQS for Feedback:
1. **Create an SNS Topic** named `SES-Bounce-Notifications`.
2. **Configure SES Domain Notification**: Go to the verified domain details, under the *Notifications* tab, edit configuration, and link Bounces and Complaints to the SNS topic.
3. **Queue via SQS**: Create an SQS queue that subscribes to the SNS topic. This guarantees webhook logs are persistent and won't be lost during high-traffic peaks.
4. **App Hook**: Configure your Laravel app (e.g. using `aws/aws-sdk-php` integration) to poll SQS, capture notifications, and tag bounced emails inside your database's `suppression_list` table.
---
## 4. Concurrency & Queue Configuration in Laravel
AWS SES permits high sending rates (e.g. 50+ emails/sec) as your sending quota increases. To prevent web requests from hanging, offload mail sending to Laravel's Redis/Database queue processor.
Update your `.env` file to use the queue driver:
```env
MAIL_MAILER=ses
QUEUE_CONNECTION=redis
```
Optimize your concurrent queue workers to run in parallel using Supervisor. This ensures SMTP handshakes do not block thread execution:
```ini
[program:laravel-worker]
process_name=%(program_name)s_%(process_num)02d
command=php /var/www/your-app/artisan queue:work redis --sleep=3 --tries=3 --max-time=3600
autostart=true
autorestart=true
numprocs=8
redirect_stderr=true
stdout_logfile=/var/www/your-app/storage/logs/worker.log
```
By following these optimizations, you ensure maximum email deliverability, zero queue bottlenecks, and a solid sender reputation.